Monday, May 14, 2012

project: simplify - week 5 complete

Phew!

Five weeks of Project: Simplify c.o.m.p.l.e.t.e.

P.S. I got last week's before-and-after pictures up!

This past week was Free-For-All - which meant that I got to tackle any area that I wanted to.

I chose the linen closet and bathroom cupboards... Let's take a peek!

 Top of the linen closet, before and after.

Bottom half of the linen closet. I threw away two grocery bags of junk (half empty body wash, shampoo and conditioner bottles -- since I don't use that stuff anymore).
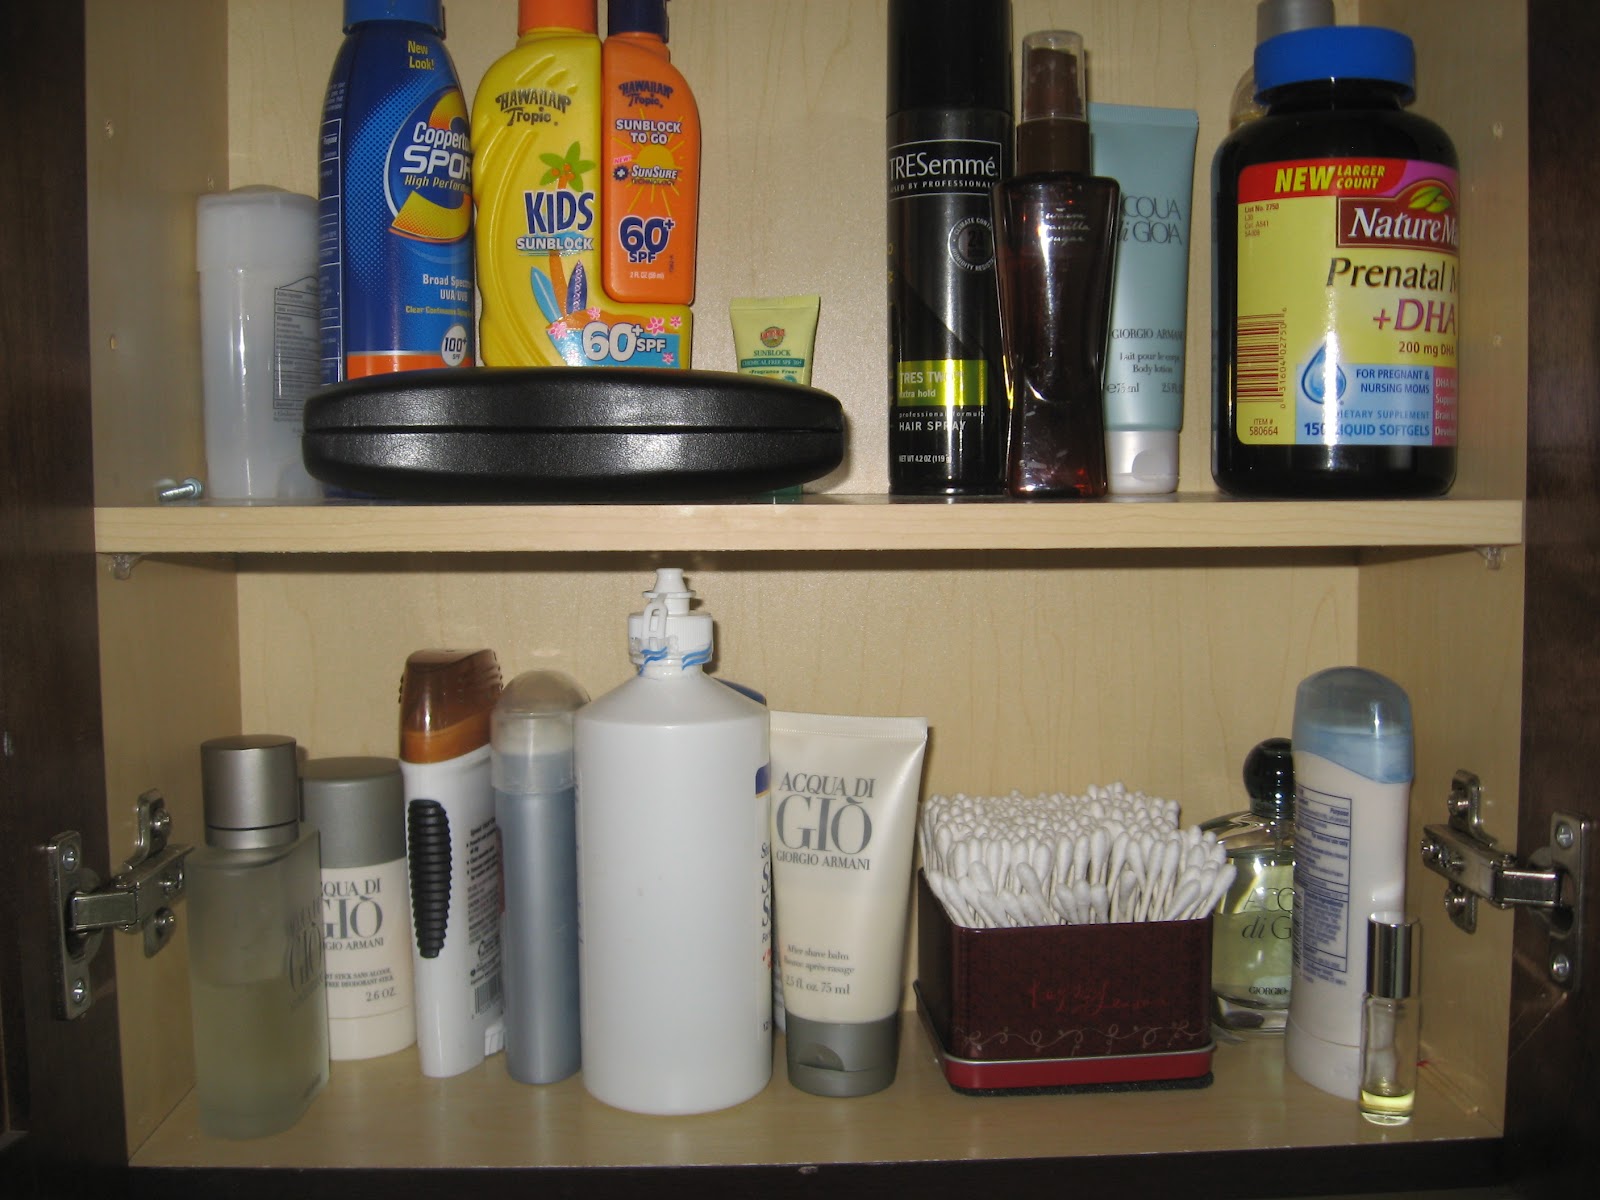
 Bathroom vanity.

 Under the bathroom sink.

Hair tie drawer.


 My Honey tackled the bookshelf! :-D (p.s. that one on the left is a before picture from when Jason did the Paper Clutter week three.)


Now that I am complete with Project: Simpify, I have quite a good pile started for my yard sale that is coming up soon. There are two more large areas of the house that I would like to sort through though: the crawl/storage space under the house and.... the garage. Dun dun dun.  I'm hoping that Jason will help me with the crawl space and I will help him with the garage. I'll post before and after pictures as I continue my quest for a de-cluttered home!


Monday, May 7, 2012

project: simplify - week 5

Project: Simplify week five begins today.

And this weeks mission: free-for-all!


That means I get to tackle wherever I please.

And it would please me to clean a few areas. To start, I'm hitting the linen closet. Then the bathroom vanity and beneath the sink. If possible, I'm going to persuade Jason to spend some energy on either the bookshelf or garage - the, eh... "choice" is up to him.

As you know from last week, my camera is broken, so before-and-after pictures are contingent upon it being fixed. Otherwise, I may just have to resort to using my crappy pixelated cell phone camera, what-a-pain.

Wish me luck! :)


Sunday, May 6, 2012

project: simplify - week 4 complete

Woot woot!

I've said that the past three Project: Simplify "complete" posts, so I figure I'll just keep it going :)

It was really refreshing to get my kitchen cleaned out. I set aside a counter-ful of items for the yard sale, filled a paper bag with old medicine bottles, and filled half a trash can with bad food. 

I've got a bunch to show you!


Top half of the pantry.


Bottom half of the pantry.


Fridge. I'll give you a dollar for every difference you can find...


Freezer.


Spice cabinet.


Random big cabinet. I love this change.


Lazy Susan thingy-ma-bob.


 This medicine cabinet was awful. Disgusting, truly. I'll show you all the junk I pulled out of it:

All that stuff was overflowing into the other side with my teas.

There is my tea cabinet. The red box got organized, but I didn't take a picture of the teas inside.


Well that's it folks! :-D


Wednesday, May 2, 2012

what to do with all those bags

During this weeks Project: Simplify, I dealt with a giant trash bag full and overflowing with grocery bags. I had it shoved in my pantry for easy access. I took it out, tied it up, and hauled it off to the grocery store for recycling today. But I don't want that much space to be invaded again.

I'm going to show you a little trick that I learned from a mother-in-faith about a year ago -- but I've disregarded it until now.

Is this what your counter looks like when you get home from the grocery store? Of course, only when you forget your reusable bags and forget to ask for paper bags, right?  ;)
Well, I forgot to do both, but I won't forget to avoid the pile-up of unused bags.


First of all, lay the bag out flat. Start folding the bag up by about the width of one of the handles. I run my hand over each fold to push out the air - from closed end of the bag to the opening.


It will probably take about five or six folds until you have one strip of bag.


Grasp the closed end with your first three fingers and start rolling the strip of bag around your first and middle finger. Not too tight, but not loose either.

Once you get a few inches from the end, grasp the tail and push it in between your rolled up fingers, pinching it in your finger tips.

Pull the bag through so that the end is shoved into the roll. 

Tada!!! And you can even do it with the produce bags...


Now go back up and take a peep and that heaping pile of air and bag.


Much better use os space, wouldn't-ya-say?


I'm putting this little pile of bags in a small box in my pantry for use during the week. Next week when I go grocery shopping, I'll just take whatever is in there and drop it in recycling. Unless I know I will be using my re-usable bags; in which case I will make sure to leave about 8 folded bags, for whatever.

Easy, peasy.

A special thanks to Mrs. Lopez who taught me this trick. Sorry I have ignored it for so long. I now know better!